Made some this morning for my bento.
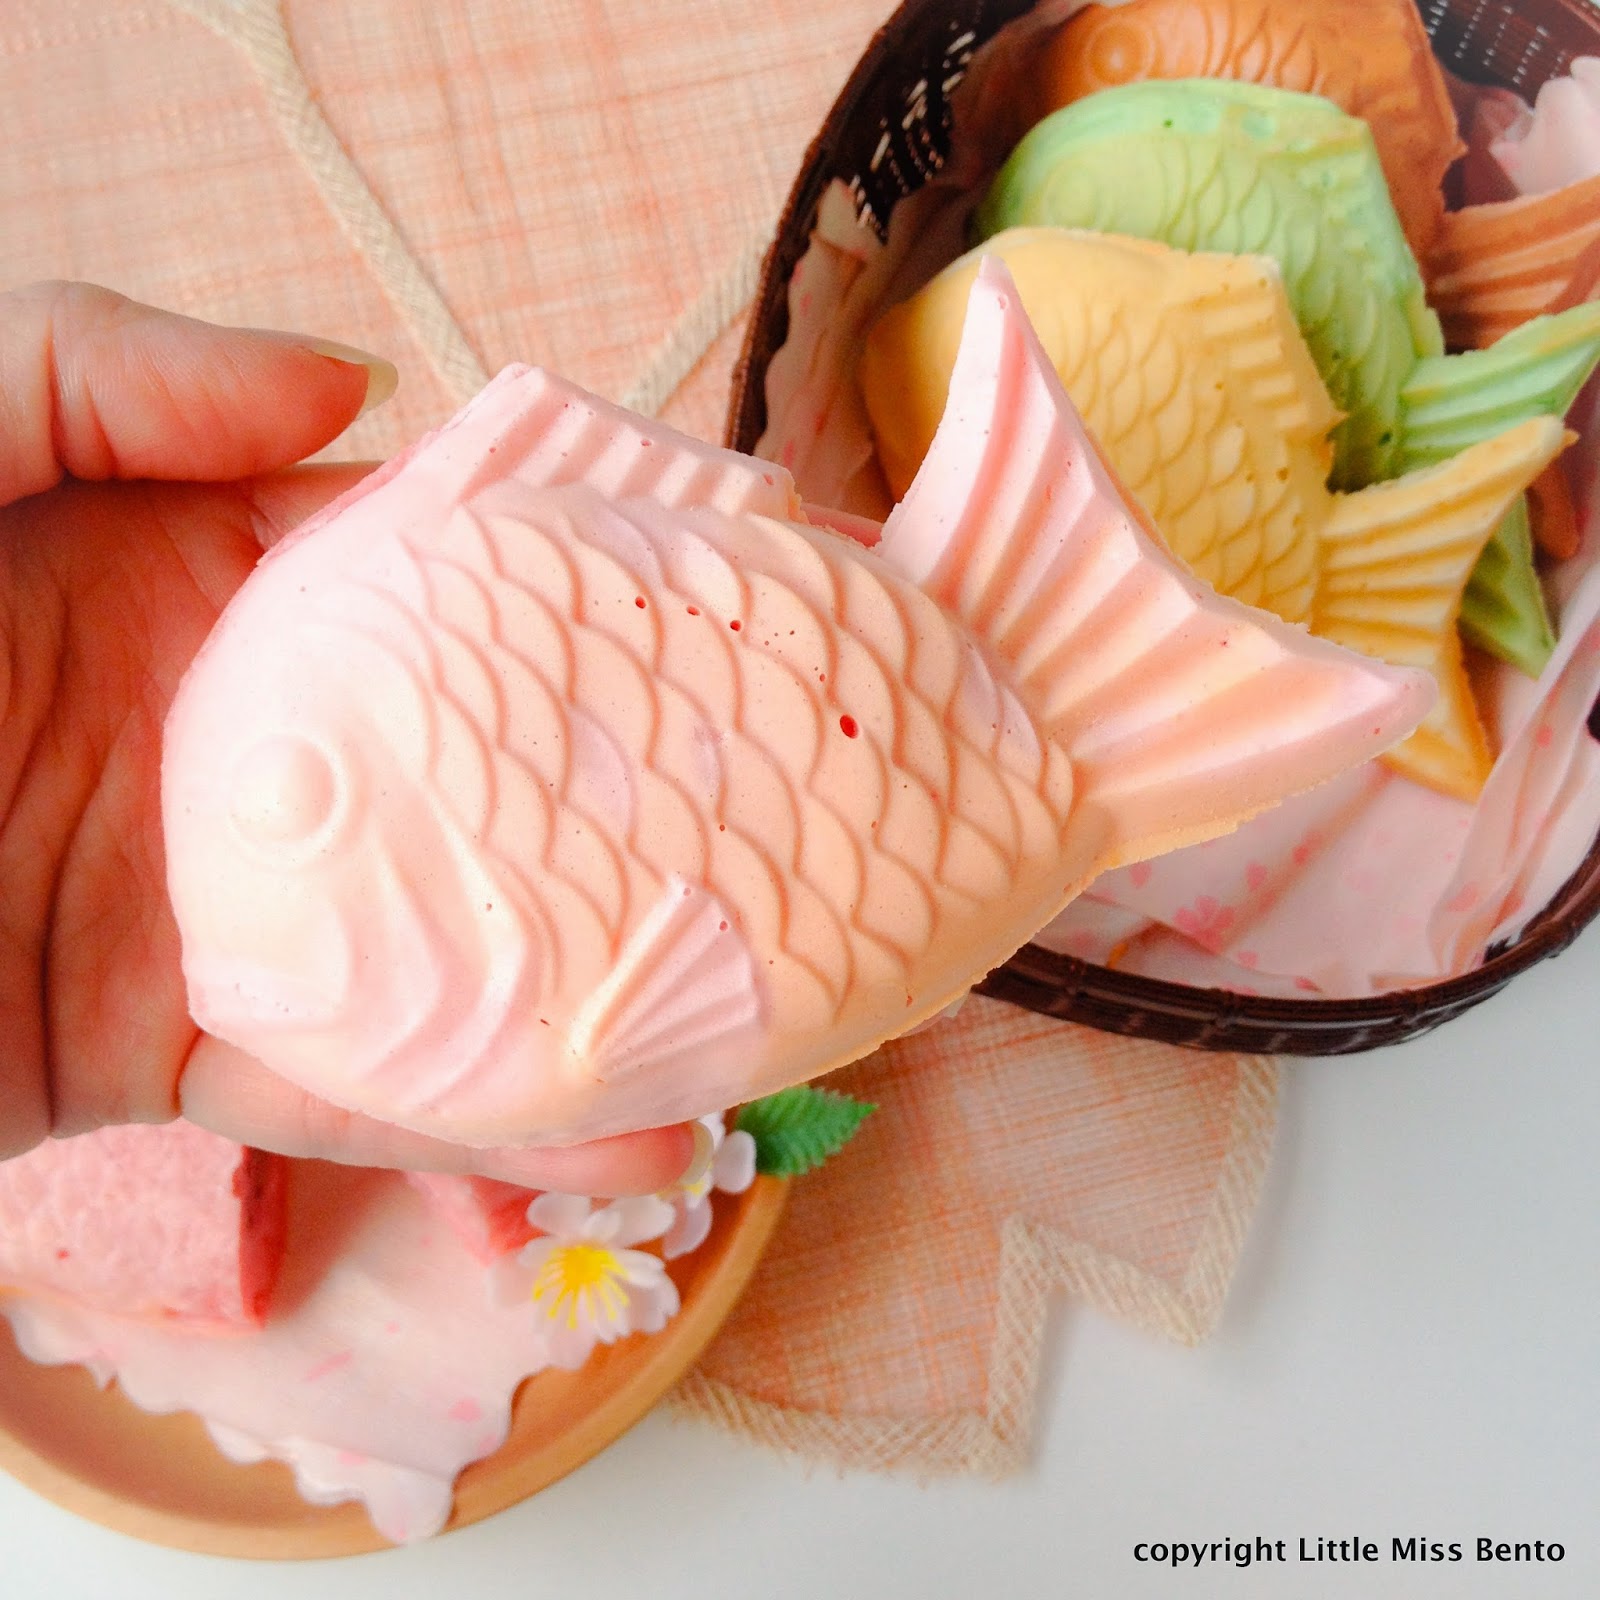
In the past, I only known of the usual brown colored taiyaki, the 'pancake' dough type, until I first saw and tried the white colored taiyaki sold at the Japanese combinis (convenience stores in Japan) back in 2011. They have a mochi chewy texture and so so super yummy. In fact, in Japan, some of the shiro-taiyaki sold were even slightly chilled - and still very yummy!
Since it is the spring season now, I decided to make this mochi style taiyaki today for breakfast!
Below is the recipe and I hope you will like it.
By the way, Singapore now do have the portable home use taiyaki mold. It has to be used over gas stove. I am seen them at the ideal home goods section at Mediya-supermarket. :)
Have fun!

Recipe for Sakura Taiyaki/Shiro Taiyaki
(adapted from Cookpad recipe ID :825128)
(Recipe makes 4)
100g plain flour
50g shiratamako (Japanese glutinous rice flour)
30g sugar
5g baking powder
200ml milk
wilton food coloring
pickled sakura (optional)
sakura bean paste or other fillings (you can replace this with sakura filling with red bean etc, sakura bean paste is not available in Singapore locally)

1) Soak the pickled sakura flowers to wash off the salt. Use a knife to chop them up into smaller pieces.
2) In a small saucepan, heat the milk with the chopped up sakura flowers. Bring to boil, stir to prevent burning. Sieve the mixture to remove the flowers.
3) Let the milk mixture cool down before adding to the flour and other ingredients. I set it in the chiller to cool it down quicker.


5) Use a spatula and mix well, ensure that the lumps of the shiratamako is smoothen out. Add in the coloring if you wish to create colored taiyaki, in this case, I tried pink and green :)
6) Heat up the taiyaki pan for 10 seconds or so. Scoop in the mixture from Step 5 and ensure that the base of the mold is entirely covered. Close the lid and cook under medium-low heat for about 10 seconds. Add in the filling for the taiyaki. Scoop another portion of the mixture on top of the filling and cover it up.
7) Cook the taiyaki on both sides for about 3-5mins until cooked through. The taiyaki will rise slightly when it is cooked.
8) Remove from mold, set aside to cool and serve. *There is no need to oil the mold if the mold is non-stick, I simply used a small satay wooden stick to aid the removal of the cooked taiyaki from the mold.


Follow my food art and bento creations on Facebook, LIKE my page here. :)
キャラ弁ランキング
ブログのランキングに参加中。よろしければクリックしてくださいね♪ ありがとう
Please support my blog ranking! Please just click the button below as the clicks will go towards the ranking! Thank you so much
![にほんブログ村 料理ブログ キャラ弁へ]()
↓ ↓ ↓ ↓ ↓ ↓ ↓ ↓ ↓